I'm making a dragon. That's right. Making one. A dragon.
Last December a friend posted a video on Facebook of an artist creating a paper mache dragon. The artist is Dan Reeder, and his video went viral. I watched his videos over and over, bought one of his books, and even emailed him for help. (He responded! What a cool guy...).
You can make a dragon too! Check out Dan's website and blog so you can see the whole process in a lot more detail. While you're at it, buy one of his books. It's really important to support artists...
You can make a dragon too! Check out Dan's website and blog so you can see the whole process in a lot more detail. While you're at it, buy one of his books. It's really important to support artists...
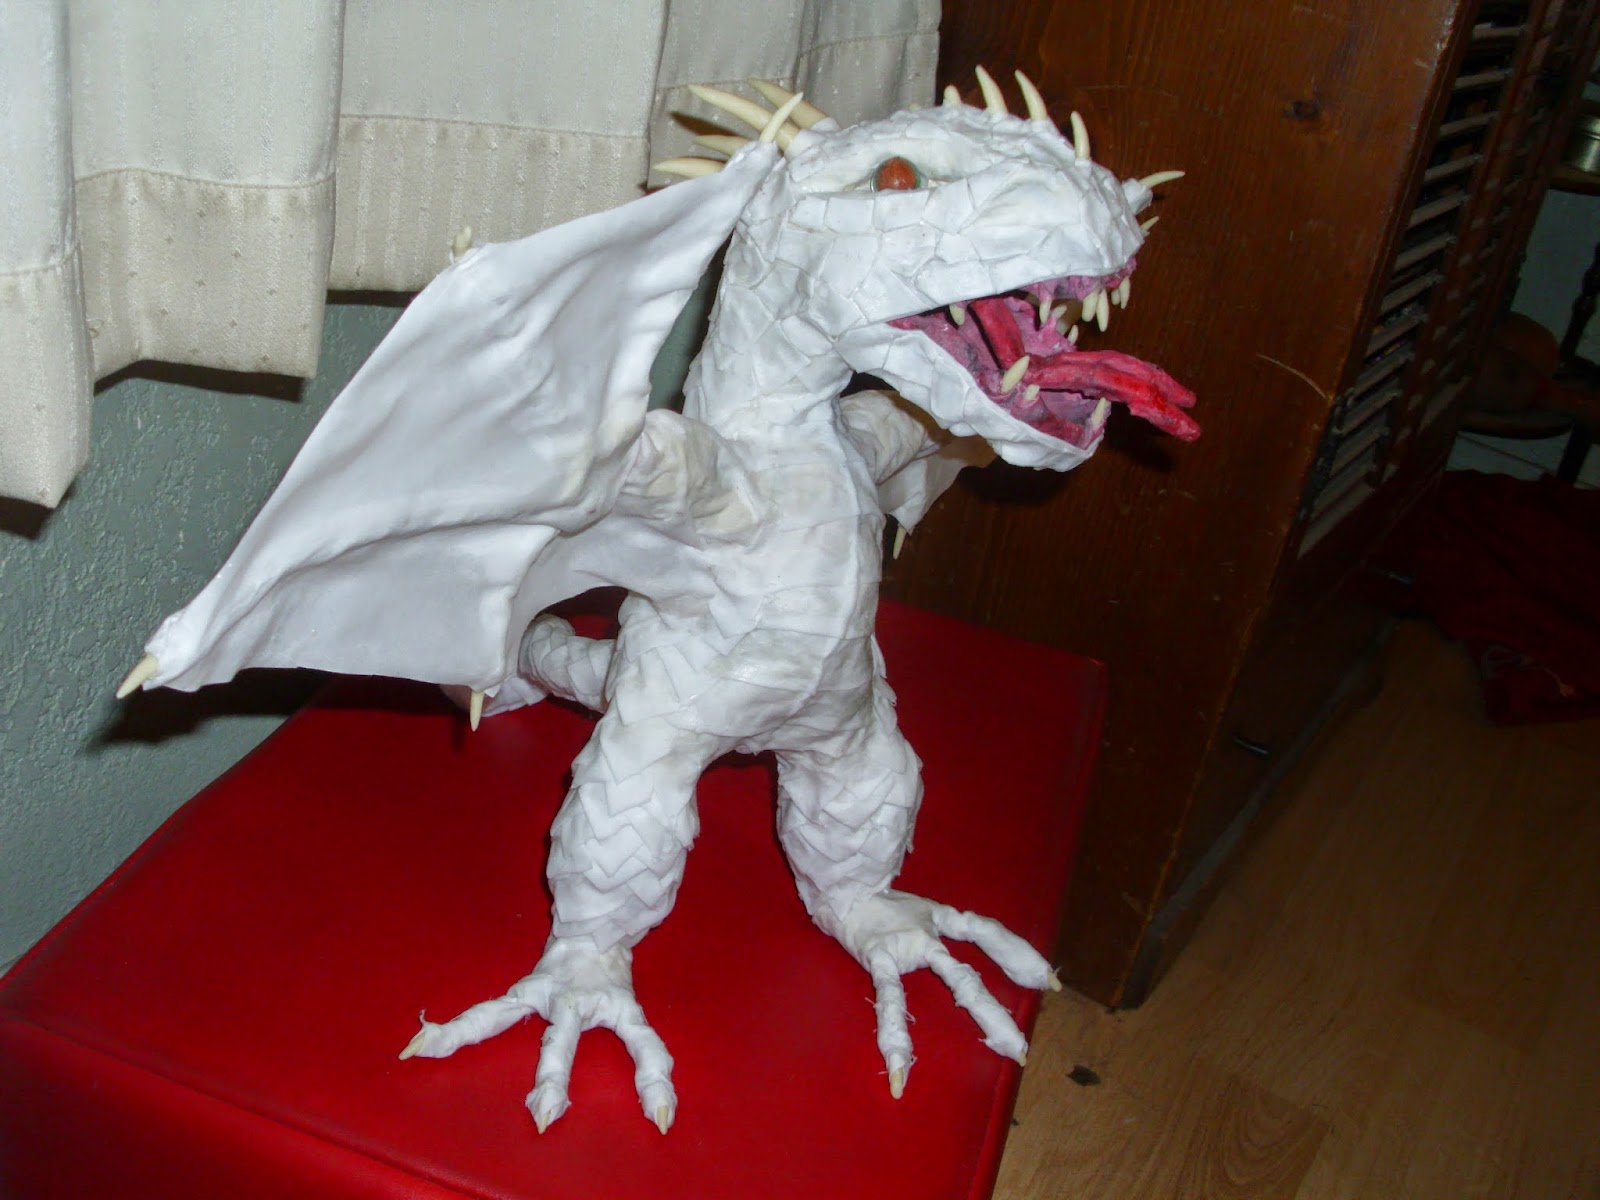
Now I'm going to show you how my little dragon is progressing. Originally I made the parts for a large dragon, but I wanted to try out some of the methods on a smaller dragon. So here he is...Snaggletooth.

First I made the body parts. The parts shown in the pictures are actually for a much larger dragon, but I made smaller versions to make Snaggle. I crumpled newspaper and wrapped it with masking tape. Then I added strips of newspaper with a mix of flour and water. If you want the detailed instructions, check out Dan's website and Youtube channel. But do follow his two golden rules: (1) one sheet of newspaper at a time, and (2) flour/water mixture goes on your hands, not on the paper itself. If you have ever used the paper mache method, you will know how yucky the flour paste gets, and it destroys the integrity of the newspaper. This is all fixed if you put your hands in the paste instead of the newspaper. Trust me!


Next assemble the parts by adding the head and legs. I cut holes into the body section and attached everything with masking tape.


Then I added the arms and "fingers." To this, I draped pieces of bedsheets dipped in a bath of glue to form the wings. It took a while to get the wings to hang the way I wanted but well worth the time.


That's Dan Reeder's book on the chair behind Snaggle. I've gone through that book so much it's covered in glue and flour paste.

To the head I added horns and eyes. The eyes are matching marbles. Isn't he cute?


Then I added cheeks and an eyebrow ridge.

For the horns, I used Fimo clay, the glow-in-the-dark color. This color is perfect for an off-white look, also recommended by Dan. Just do everything he says and your dragon will look cool. He's been doing this for decades.


I added breastplates starting from the tip of the tail and working up to the neck.

For the legs and top of the tail, I added triangular scales. The scales transitioned to a different kind of scale at the head.


I removed the tongue for the entire process and added back for pictures. I'll leave it out for the painting stage and add it back when everything is finished.

A few more pictures, with and without the tongue. The natural lighting really shows off his wings.

Now Snaggletooth is ready to paint!

And I can't say this enough. I am indebted to Dan Reeder, the gourmet paper mache guru and Monster Man, whose work inspired me. Thanks, Dan!
Post script: Here's an update on Snaggletooth's paint job. He's looking great so far!